
WARNING: This is a long post
My main inspiration for making this blog, other than the fact that its midterms and I really don’t want to do my homework, is to keep track of this big project I’m taking on that will probably take me 5ish years to complete.
It all started with this image.
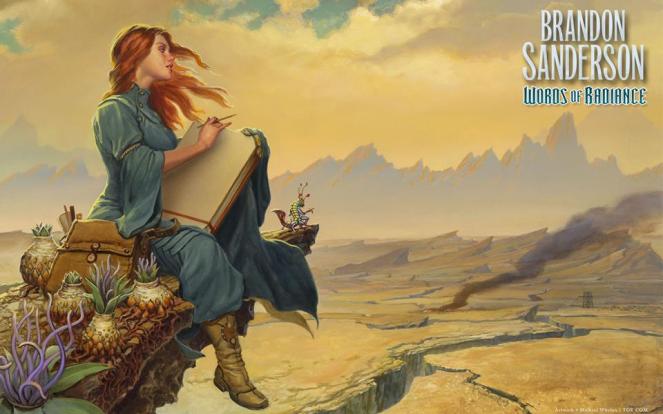
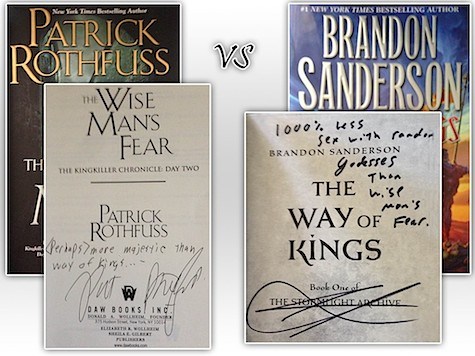
The Stormlight Archive series by Brandon Sanderson is favorite fantasy series right now. It’s an amazing and well written story that I highly recommend. I bought the audio books from Audible and will probably be listening to them a few more times over the course of this project (: The narration by Michael Kramer and Kate Reading is really wonderfully done. I haven’t loved a series this much since I read Patrick Rothfus’ Kingkiller Chronicles. (Pat’s blog is also a great read, even if you’ve never read his books)
Anyway! I found a high res picture of Whelan‘s cover art and cropped out all the boring Shattered Plains (even though it’s actually really pretty, it would take me a lifetime of stitching tans and yellows). I changed the colors to look a little more realistic. I liked the sepia-style filter, but I was worried the colors wouldn’t pop enough and would kind of mush together in the end product.

Then I took that image and put it into my PCStitch program. I’ve had the free version for a while and I upgraded to pro just for this project. I love it! I was using KGChart before, which I think is the better of the free options, but now that I went premium I don’t know if I’ll go back (: According to the program, this is roughly what it should look like all stitched up in little x’s:
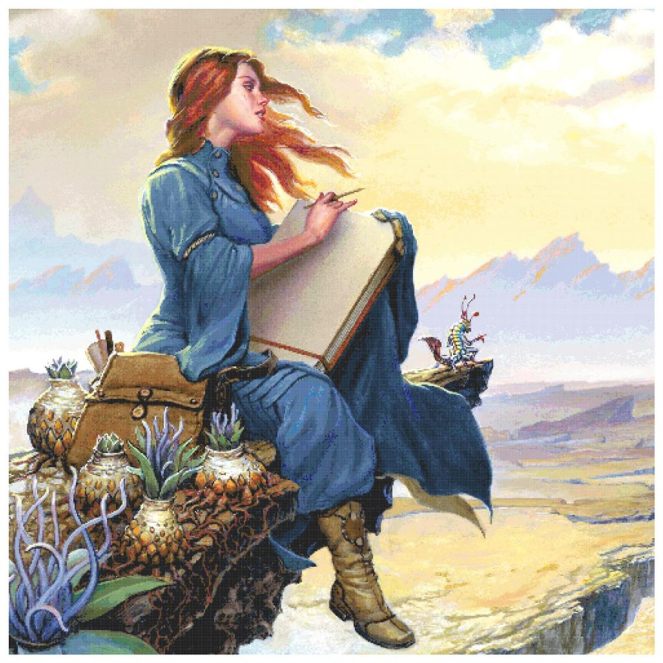
It took A LOT of trial and error and frustration and help from my boyfriend, but eventually I ended up with something I liked. The 1000×1000 stitch version looked amazing, but I don’t think I would ever finish something that large. I kept going down in size gradually until it looked really bad. 400×400 was terrible, so I upped it to 500×500 (250,000 stitches!!) and called it good. I’m not sure what the exact color count is on this, but it’s somewhere in the ball park of 400 individual DMC colors.
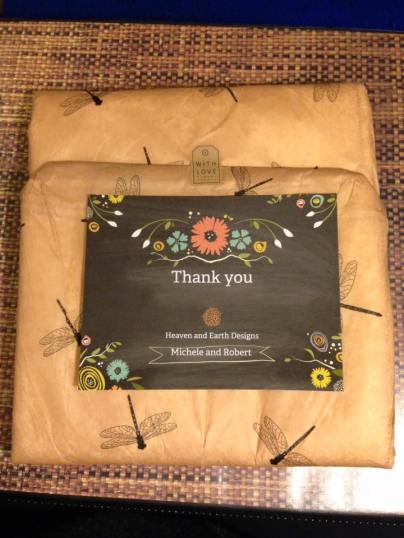
There are a lot of firsts in this project for me. This is the first time I’ve taken on something so large and daunting. It will be the first time I’ve ever done this kind of gradient color shading with lots of confetti, I’ve only ever done simple block-style stitches. It’s also the first time I’ll be stitching on something smaller than 18count aida fabric. For this project, I decided on 28count Monaco from Heaven and Earth Designs. (FABULOUS customer service! They ended up giving me a much larger cut of fabric than I ordered, and their prices were amazing compared to other places – $16 vs $80!!!)
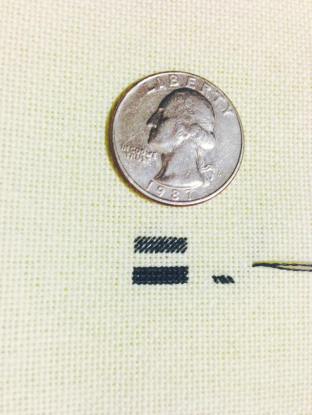
While I waited for my fabric to arrive, I practiced stitching on 28 count to see what kind of coverage I could get. The top section is 3 rows of 10 stitches of one-stranded tent stitch. Tent stitch is where you only do the ///// of the X instead of doing full X’s. I had heard good things about it lately and thought it might potentially halve the amount of time I spent on this project. I looked at some examples where I really couldn’t tell that it wasn’t dull crosses. Sadly, one-threaded tent stitch was really poor coverage and had too much white space showing through. The very bottom right was my attempt at two-stranded tent stitch, abandoned after four stitches. Ha! I couldn’t handle it, two threads was getting horrible tangled and lumpy and so ugly. I ended up going with one-stranded full crosses. The bottom left is 3 rows of 10 full cross stitches with one thread. I think it looks perfect!
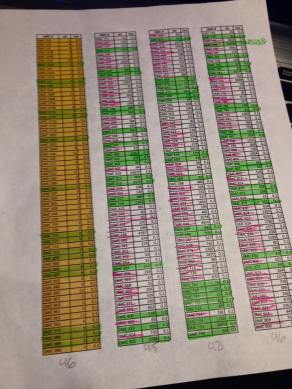
Still waiting for my fabric to arrive…. I realized that searching for colors on this pattern was going to be a pain in the ass with my current sort method. By-color is SO pretty! But by-DMC# is much more practical, so it had to be done. Somehow when I sort it by # it fits better in my case….


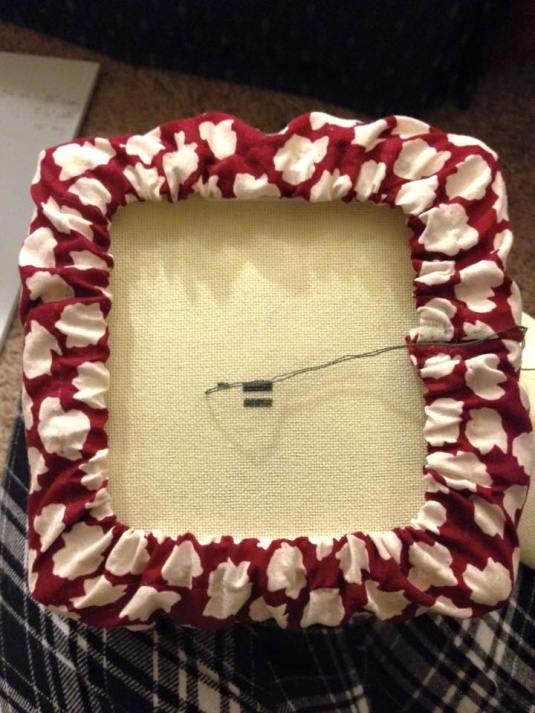
Another first for me in this project is using a Q Snap. I’ve tried using a traditional wooden hoop, but I didn’t like the tension and it felt awkward to hold. It didn’t take long before my wrist hurt or I had to adjust the tension. All of my stitches up until this one have been hand-held. I bought myself a wooden scroll frame for Christmas and OMG that was the worst decision I’ve ever made!! My boyfriend and I couldn’t even put it together, so I’ve never used it.
For all of those reasons, I was really hesitant to buy the Q Snap and was pretty sure I would hate it. But I love it! It always has the perfect tension, it’s easy to hold without feeling awkward, and it doesn’t leave marks on my fabric like a hoop does. So while I was (still!!) waiting for my fabric to arrive, I made a grime guard using this tutorial. I think it turned out pretty cute! I used some fabric my mom has had for forever.
I’m definitely going to make another one and do some things a little differently next time, but over all I’m pretty happy with it. I only have a 6″ Q Snap, so my extra fabric is pretty bulky. I’m considering buying an 8″ the next time I go to JoAnn’s, or maybe just making my own.
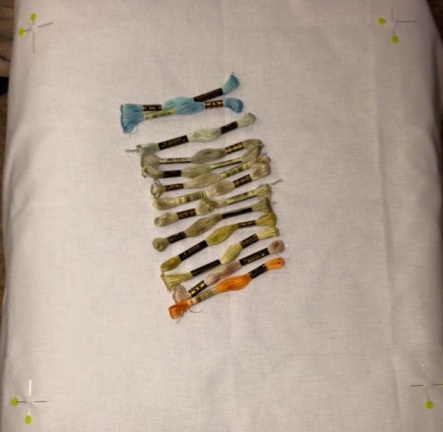
I planned on buying all my missing floss colors and bobbinating them so I’d be ready when my fabric got here, but when I took inventory I found that I was missing over 200 colors and all that floss would cost about $150 ): I decided to just buy my floss one page at a time. Not so bad!
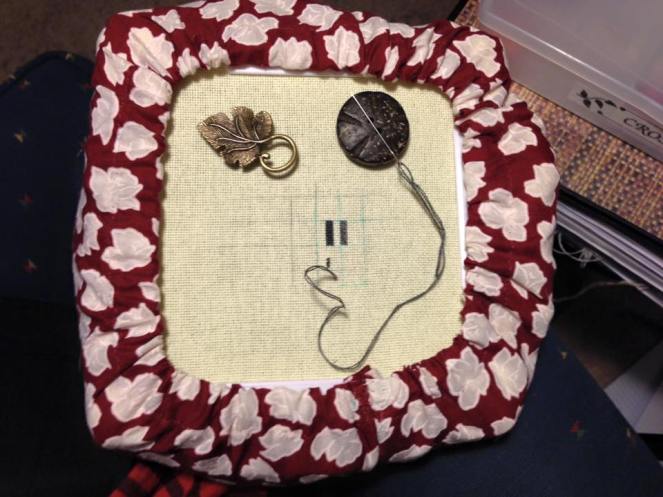
After seeing everyone’s cute little needle minders, I got jealous and spent a night making my own. More on that in another post, because I got carried away and made a lot (: These were my first two. (See, lots of firsts!) It was super stormy that day, so I scrounged up what I could find in my stash.
FINALLY, it came!!! I got the arrival email while I was in the middle of a four hour study session in the archives. I don’t think I got much homework done haha. I immediately went home, checked my mail box and prepped my fabric.
It took lots of measuring and re-measuring and pinning and re-pinning (especially since my cat kept taking out the pins) but I finally got my 18.5″ x 18.5″ square measured out and marked. I ended up giving it a 6″ border on all sides because I plan on getting this professionally framed when I’m done and I want to make sure they have enough fabric to work with. Recommended border is 3″ on all sides. I had to make a quick stop to JoAnn’s because I didn’t have any of the colors on page one (of course). Got them all bobbinated and on a hoop while I watched The 100 with my boyfriend (watch it, it’s good).
Gridded up, snapped in and FINALLY got to start stitching!! I worked until after midnight and got exactly 70 stitches in on my first night.
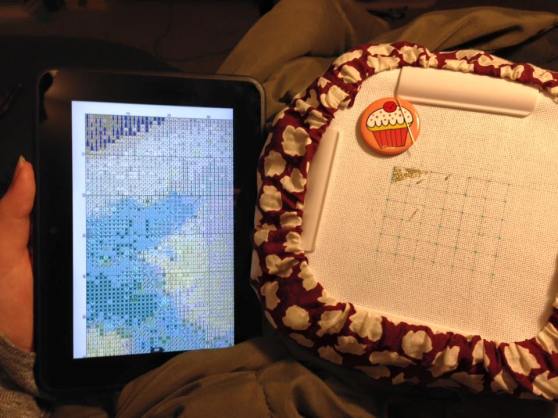
The pattern is 65 pages, which is kind of expensive to pay to print it so I tried out a few apps for marking my pattern on the Kindle. I don’t love any of them, but of the three I tried I like PDF Max the best. (The other two I tried were EZ PDF and Foxit)
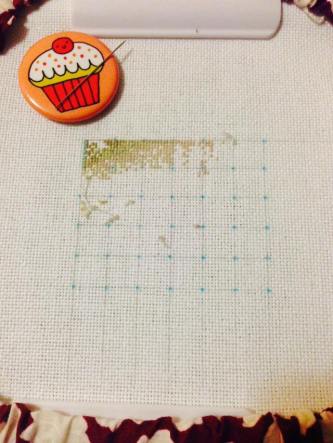
And here’s where I’m at today! About 300 stitches in two days, way faster than I thought I’d be.
Hopefully none of my other posts will be this long! This was a few weeks worth of updates. But who knows, maybe they will all be this long.
Edit: To see how far along I am in my project, check out my progress page!

Wow! I love how you cropped the image, and you got really excellent results through the conversion in PC Stitch. I use that program, too. Can’t wait to see the progress on this.
LikeLike
Thank you! I’m really loving it so far (:
LikeLike
You know those roundish clips they can use at hairdressers? They are excellent for holding lots of excess fabbie
LikeLiked by 1 person
Brilliant!! I’ll have to do that. I’m planning on making a bigger frame this weekend using Pam Reid’s tutorial, so that should help too (:
LikeLike
You might want to try again worth the scroll frame. I have Persephone on my large one. Let’s me stitch two handed and that’s so much better
LikeLiked by 1 person
Which brand do you recommend? I bought one for myself for Christmas, but it was so poorly made my boyfriend and I couldn’t even get it to go together. I would like to use one though! I think it might squish my stitches less
LikeLike
Umm not sure what my big one is, just a floor stand. The other is a table/lap stand. If you search on my blog for “frame” or “stand” it should pop up with the post. I know that has the detail.
LikeLike
You have quite the project there. I will enjoy watching you stitch this one. It is quite beautiful and the PC stitch program did a great job with it.
LikeLiked by 1 person
Thank you (: I’m estimating that at this pace it’s going to take me around four years, so there are lots of updates to come haha
LikeLiked by 1 person
Wow. This is one heck of an undertaking! I can’t wait to follow your progress on this. I bet it’s going to look amazing 🙂
LikeLiked by 1 person
Thanks! I sure hope so (:
LikeLike
Very ambitious. Good luck 🙂
LikeLiked by 1 person
Thank you! I finish with finals tomorrow and finally have a chance to work on it some more, I miss it!
LikeLike
Good luck with finals, too 😉
LikeLiked by 1 person
Yeah, even if I had the talent, I could never make something like this. I don’t have the patience. My art skills are more the pencil-and-ink kind. But I’ll certainly be following your progress. Storms bless.
LikeLiked by 1 person
I am a huge Sander fan and Shallan is my absolute fav character. Lightweavers FTW. Any chance I can you might be willing to share the pattern? I am just getting into big cross stitch like this but I imagine it will be the project I work on during each of my re-listens of the Stormlight Archive.
Also a few other fans (Nikki R, Alice Arnson, and others from 17th Shard) and I are going to have a cosmere meetup in the Seattle metro area sometime this year. Would you be interested?
LikeLiked by 1 person
Shallan is bad ass!! That sounds really fun (: I’ll have to think about sharing the pattern, I’d feel weird about it since it isn’t my artwork to begin with – it’ll be fun to meet up with fellow fans though!
LikeLike
Thank you girl! I didn’t mind the legth of your “story”. It was actually a tutorial for me, since I am at the verge of starting my first big cross-stithcing project. Very helpful, thank you.
LikeLike